Documentation#
Process
Sphinx#
Documentations in ProjectGeo are created using Sphinx. The pipeline is as follows:
Within the project, create a new git branch called “docs” and checkout.
Create “docs/” directory at the same level as code source directory.
Using poetry
Netlify#
To put this documentation online we use Netlify (www.netlify.com). Basically, Netlify run the documentation compilation in some server, ie. it runs “./make.bat html” just like we do locally.
The documentation App (the one we open locally in the browser from “docs/build/html/index.html”) is now running in a Netlify server with a certain name (example: candid-flan-0a92df.netlify.app). If we go to that url, the documentation will be there.
A very cool feature of Netlify, is that it let you link the deploy with an specific github branch (usually the docs branch), so anytime the branch gets updated, the deploy process is run again, fully automatizing the updating process on each push.
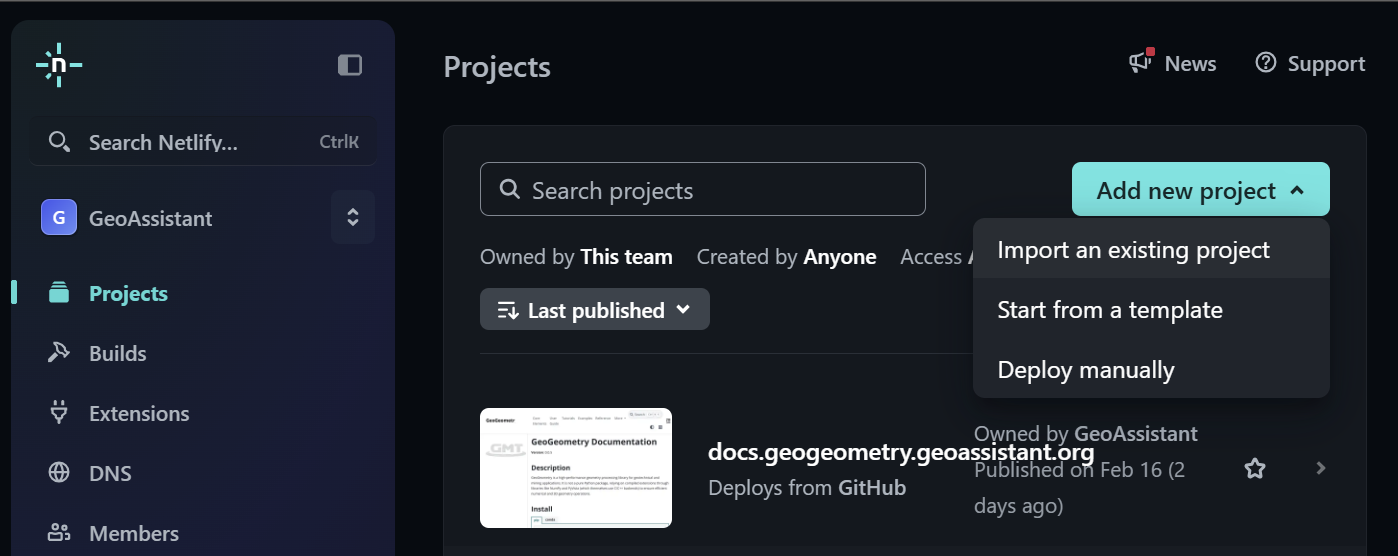
Step 01: Add new project, import existing.#
Select Github as source
Select the repository (works with private ones)
Within the configuration form:
Project name: Local name in Netlify.
Branch to deploy: Usually the “docs” branch.
Base directory: Type “docs/”.
Now there is a catch, Netlify doesn’t have poetry installed in its computer, so when it tries to deploy and the project is managed by poetry (pyproject.toml), it tries to use its poetry to handle dependencies (the one that is not installed), instantly crashing.
To avoid this, a “requirements.txt” (pip style) file should be created, fooling Netlify into believing the project uses pip (which doesn’t matter at deploying).
Poetry command: poetry export -f requirements.txt –without-hashes –only docs -o docs/requirements.txt
(You never manually maintain requirements.txt)
Now the final step is to tell Netlify to pip install dependencies from “requirements.txt” and later to run “make html”. This can be simply set by creating the file “netlify.toml” at root level with the following:
[build]
base = "docs"
command = """
  pip install -r requirements.txt &&
  make html
"""
publish = "build/html"
Cloudflare#
Logically, we don’t want our users to go whatever url Netlify gave us, we want them to type in our url (example: docs.geoassistant.org) and be redirected to the Netlify server address.
This is done with Cloudflare (www.cloudflare.com), which also is the service that sells the domains (very convenient). So within the Cloudflare console, the user can control the DNS records of its bought domains. Here, we can set docs.geoassistant.org -> candid-flan-0a92df.netlify.app (known as a CNAME record).
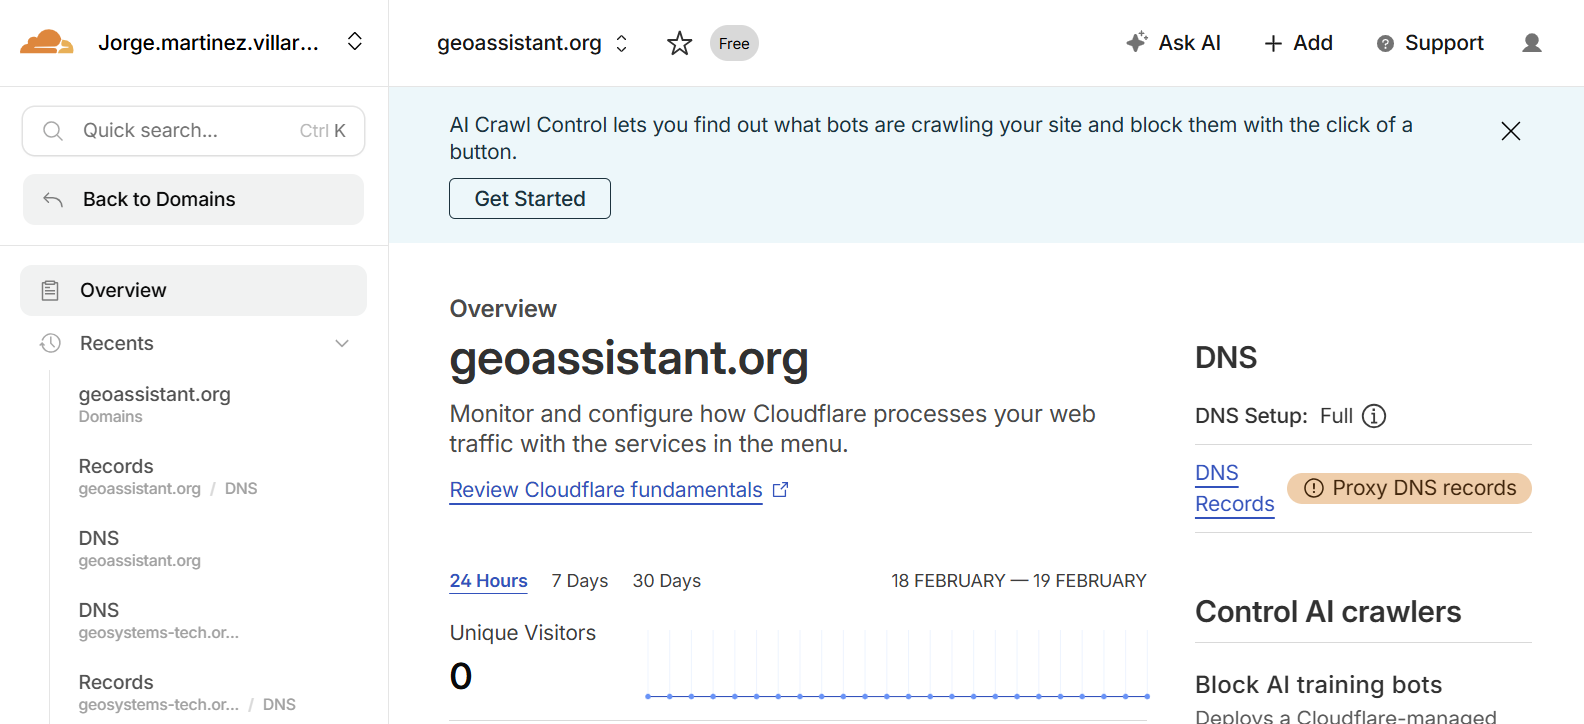
Step 01: Go to DNS Records.#
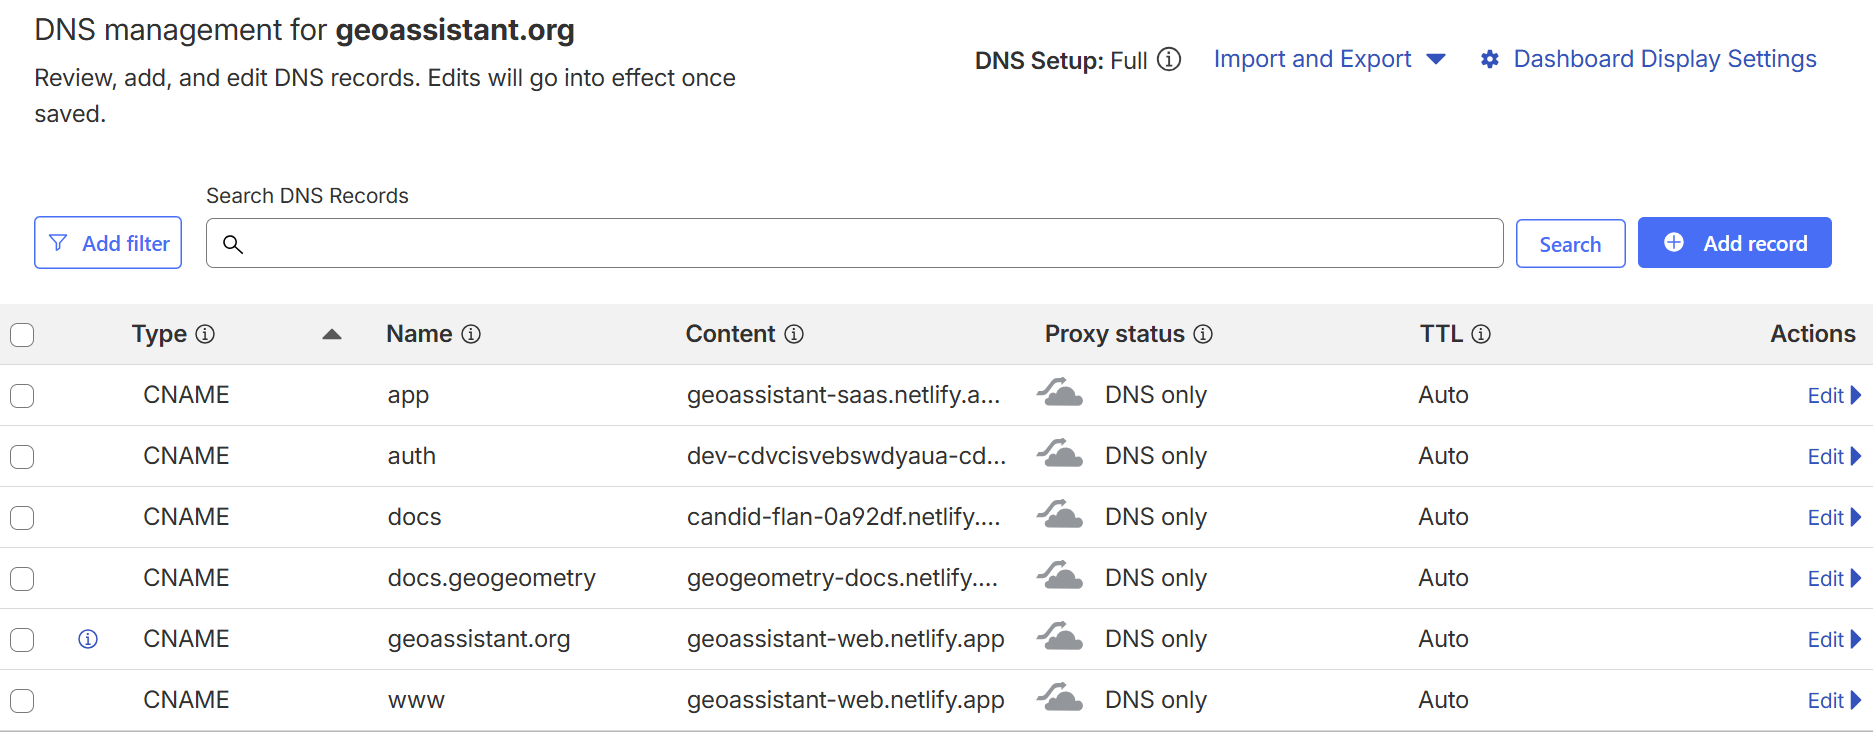
Step 02: Add record.#
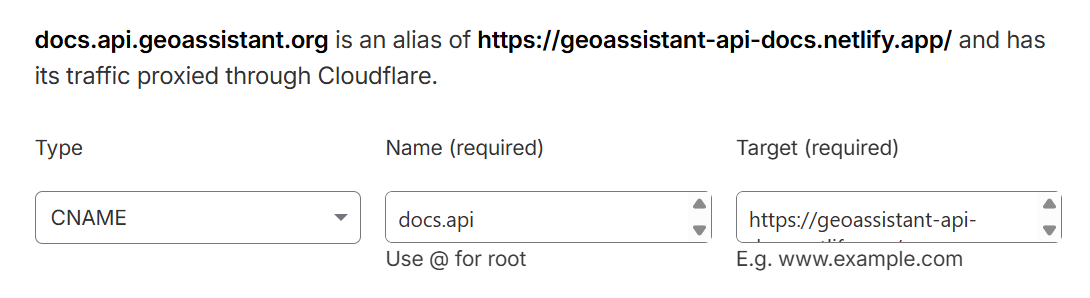
Step 03: Create CNAME record.#
At this point, we tell the “internet”, that each time the user types “docs.api.geoassistant.org” to redirect to the Netlify server. But that is not enough to get online, the internet actually have to trust the url we are setting up, and that is by a proper certification.
Netlify handles this gracefully by just telling it the custom domain we want to use:

Step 01: Add a production domain.#
After adding the custom domain “docs.api.geoassistant.org”, Netlify gives the option to generate a certification with Let’s Encrypt”
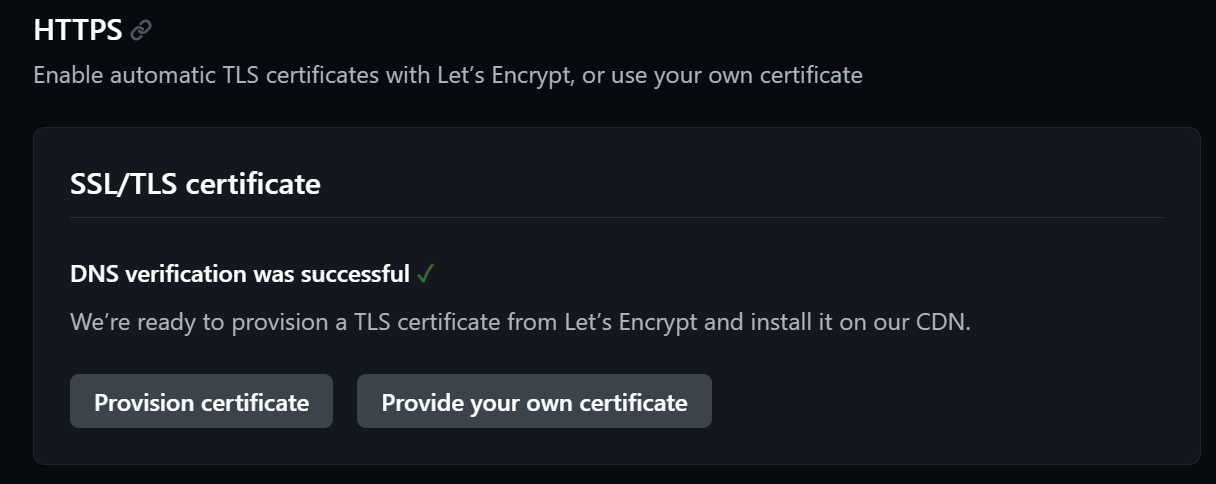
Step 02: Add a production domain.#
This may take some minutes, don’t panic if some error message pops up.
And that’s it, now if we type in “docs.api.geoassistant.org” we get to our docs. And everytime we commit to the docs branch, the docs get updated.